Table of Contents
WhatsApp is a very popular messaging app on the Play Store, but unfortunately, tablet users have been left out of all the fun because WhatsApp only works on smartphones—until now.
Tech wiz James Nakata wrote up a short guide over in our forum for porting WhatsApp onto a Nexus 7, and I’m going to elaborate on that here.
This guide will show you how to get WhatsApp working on a Nexus 7, but it should work for all Android tablets.
You’ll need both a rooted Android phone and a rooted Nexus 7 (or any rooted Android tablet) for this hack.
On Your Rooted Phone…
The following 4 steps will outline the process you need to perform on your rooted Android phone.
Step 1: Set Up WhatsApp on Your Rooted Android Phone
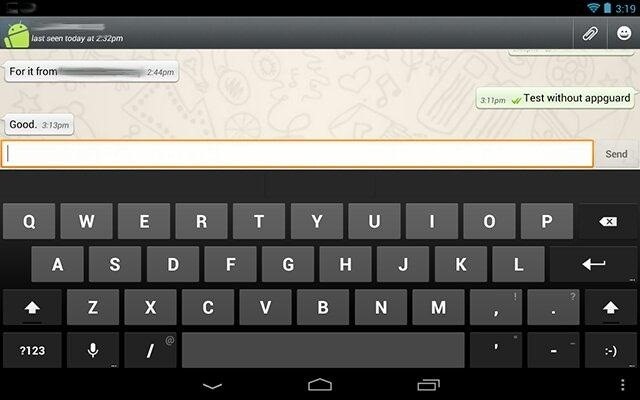
Install WhatsApp Messenger on to your Android phone from the Play Store. Go though the setup process and have your account activated. Send a few messages with WhatsApp to verify that your phone sends and receives messages.

Step 2: Install Titanium Backup on Your Rooted Android Phone
Open up the Play Store, and search for the free version of Titanium Backup.

Reminder: you need to be rooted!
Step 3: Back Up WhatsApp Using Titanium Backup
Open up the Titanium Backup app. A message will popup asking for “root permissions”. Go and click “Grant”. This just allows Titanium Backup to run on your phone.

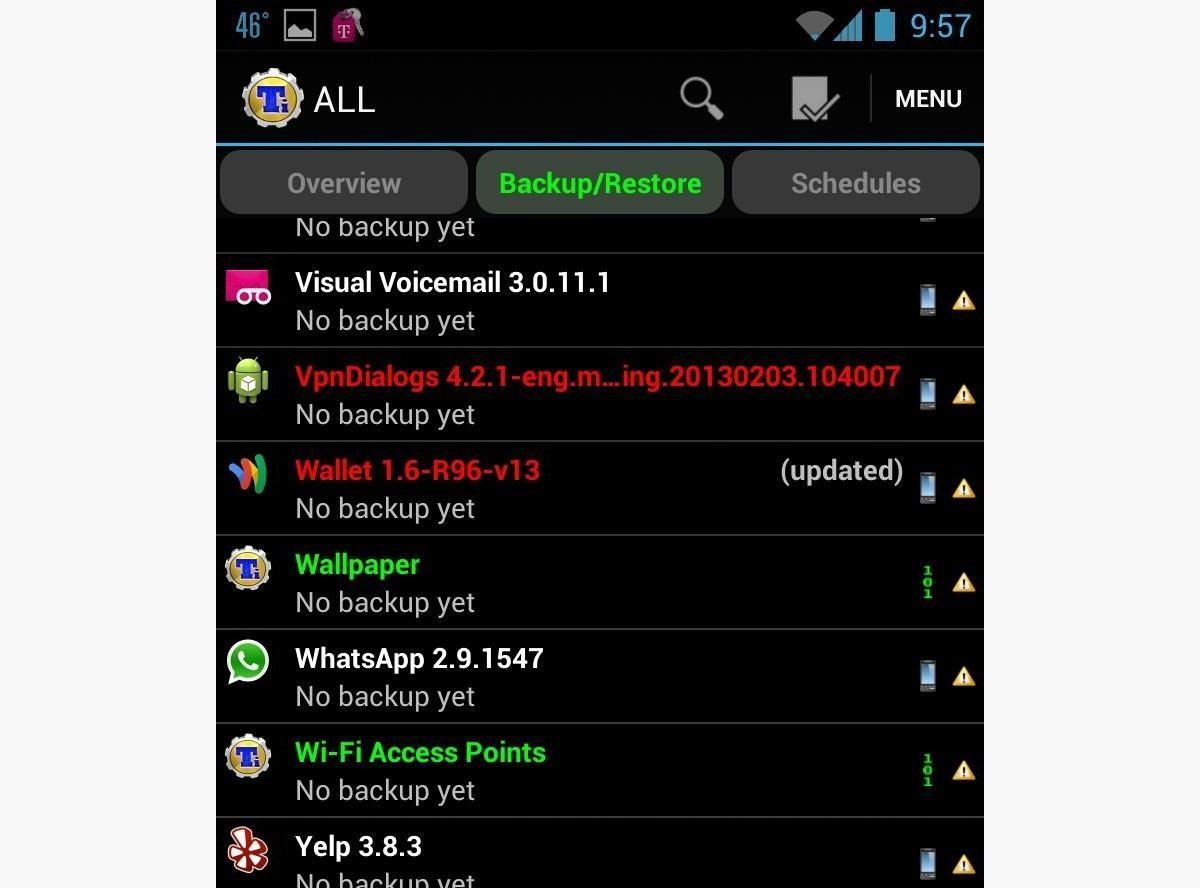
Click the middle option for “Backup/Restore”, then scroll down the list of apps until you see WhatsApp.
Click on WhatsApp, and choose “Backup!”.
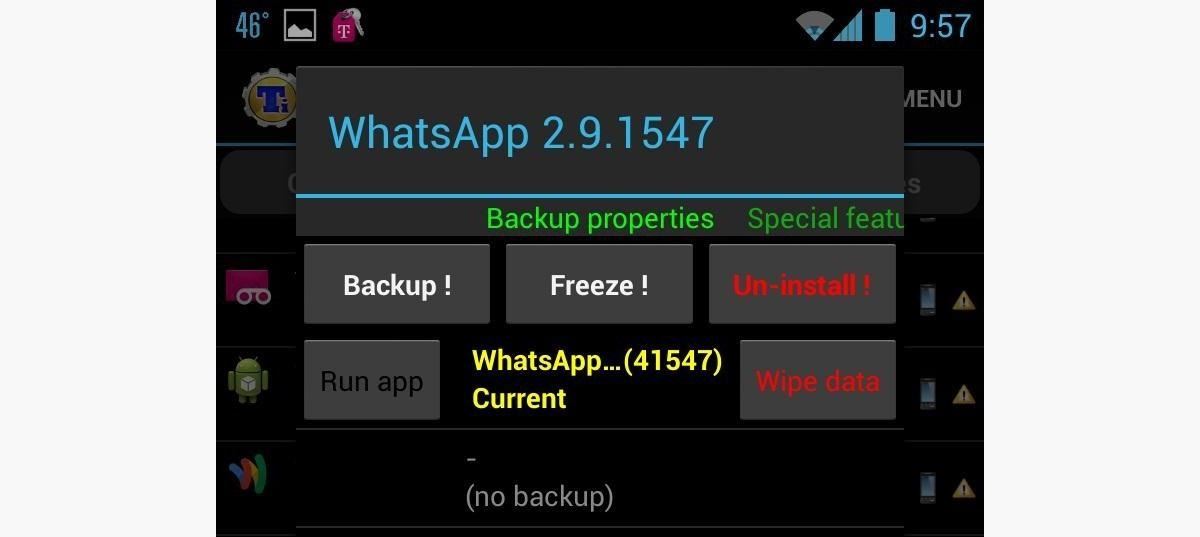
WhatsApp will then be backed up on your phone.

Step 4: Send the WhatsApp Backup as an Attachment
Since the Nexus 7 doesn’t have an SD card slot, you will have to upload the backup to Gmail. Open up the Play Store, and search for the free version of Astro File Manager. Install and open it on your phone.
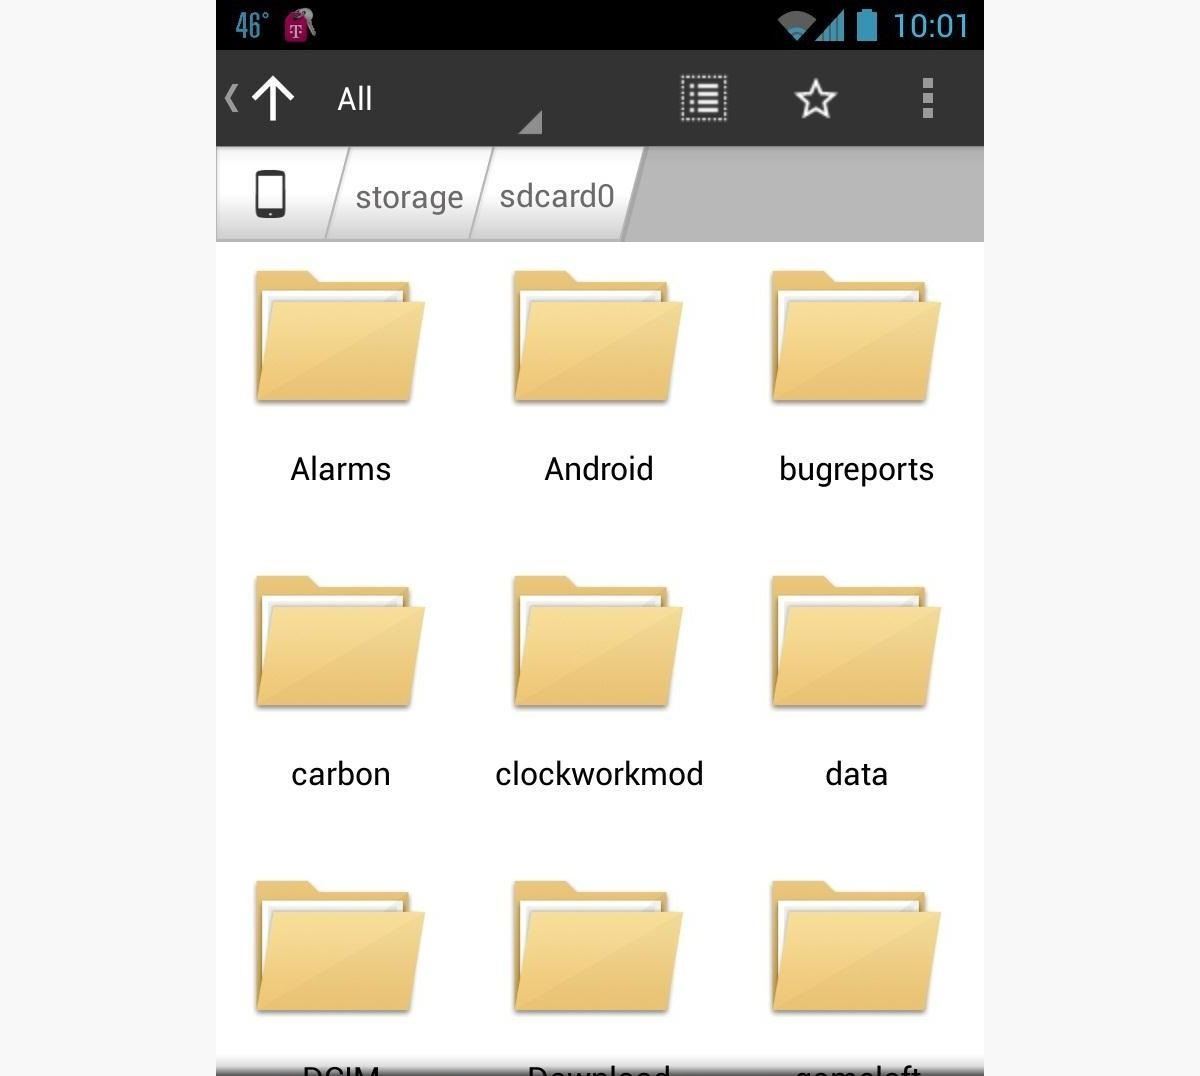
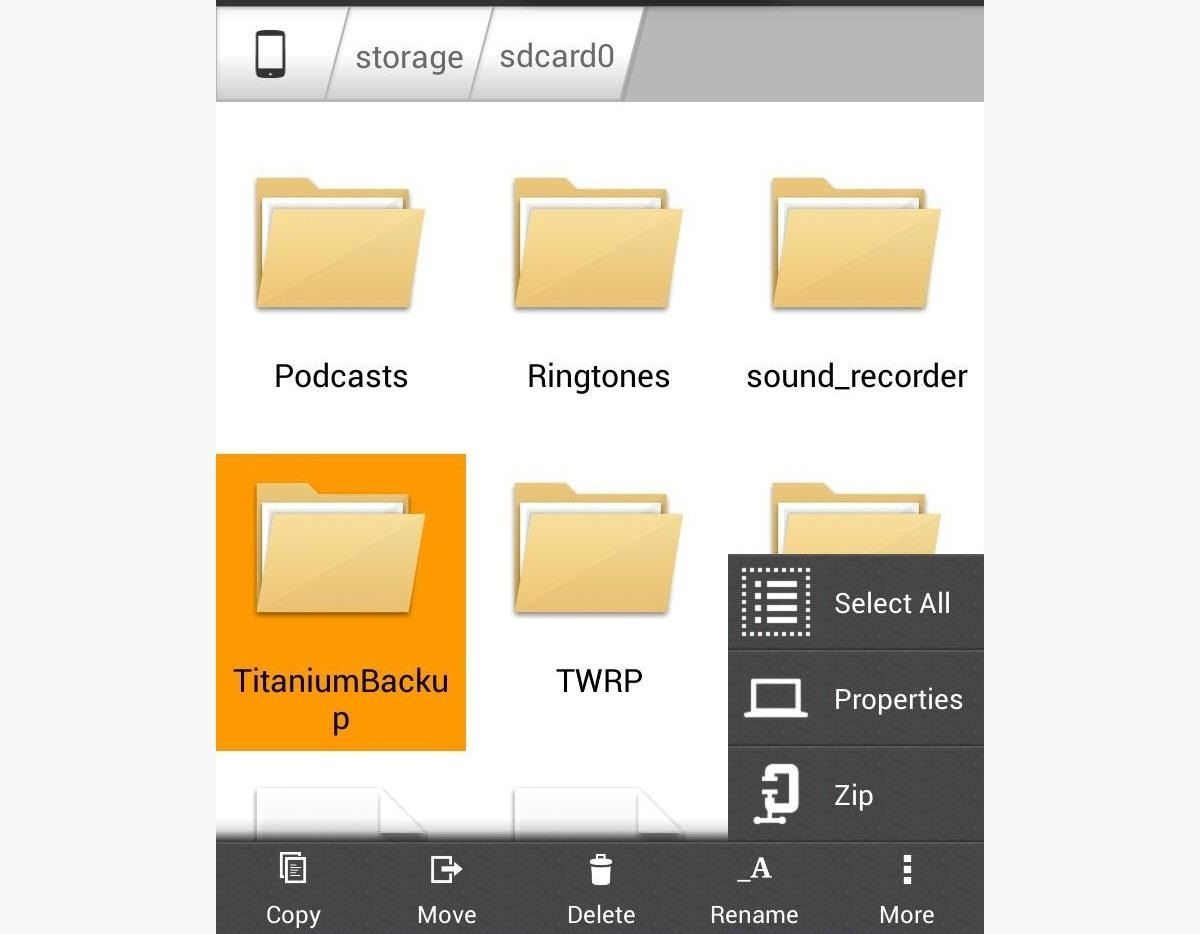
Go and find the folder titled “TitaniumBackup”. Click and hold down on the folder; an option will slide up for “Zip”—click on it. This will save the folder as one file ready to be uploaded to Google Drive.
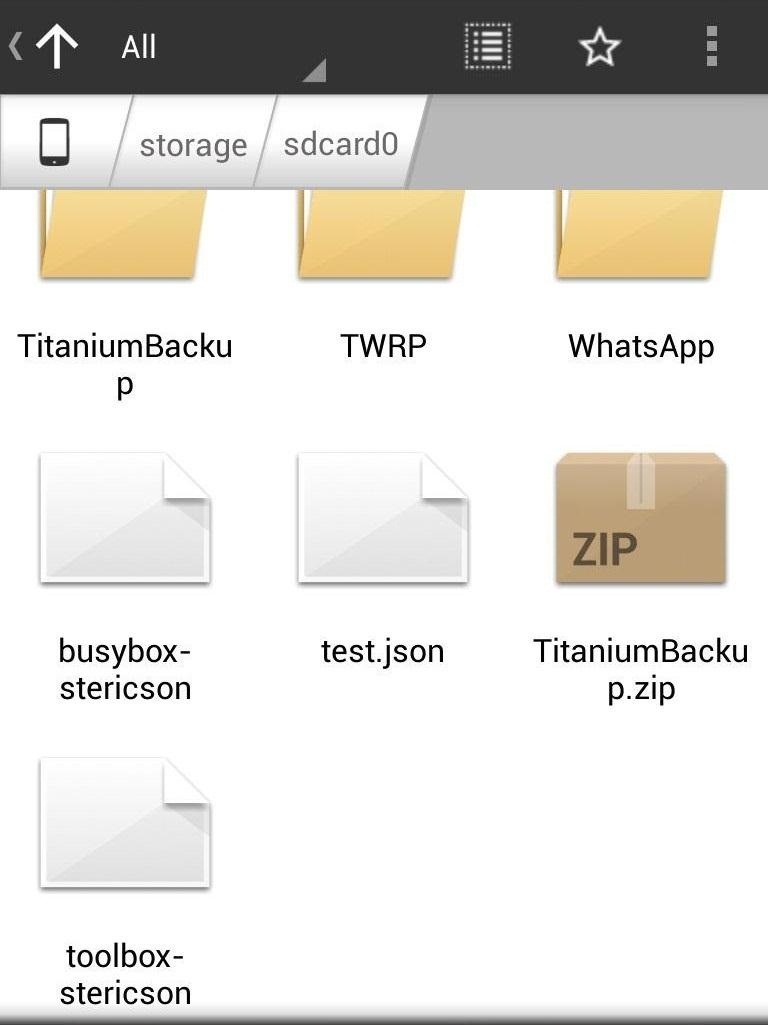
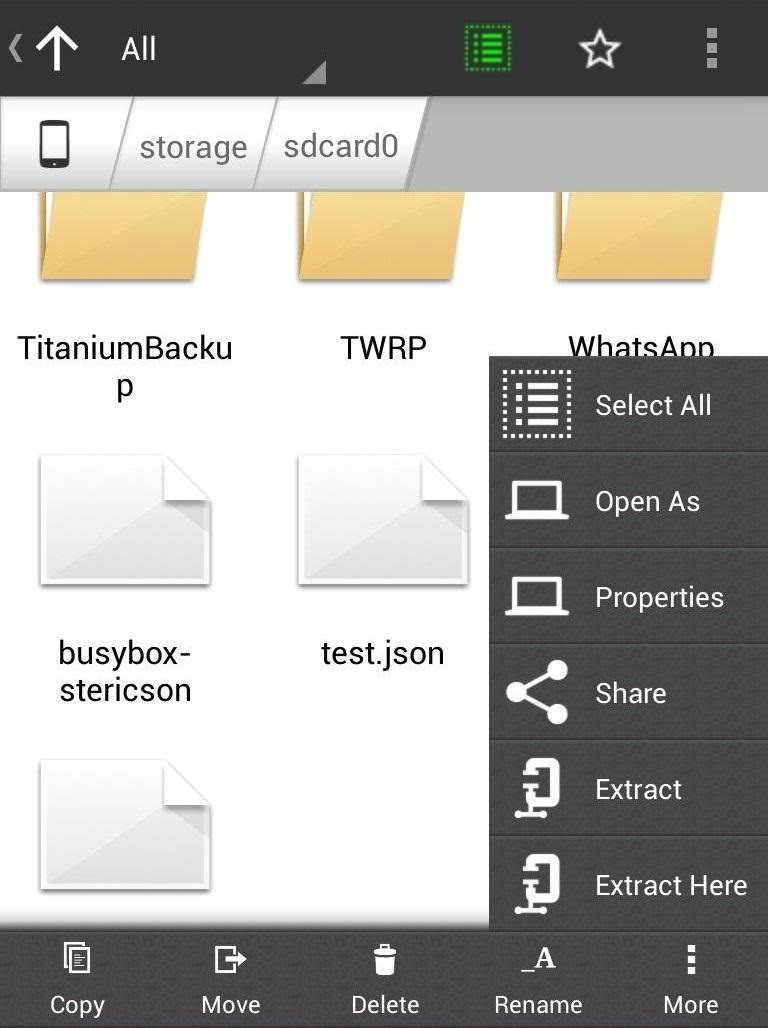
Once that’s done, find the Titanium Backup ZIP file in Astro and long press it. Choose the option for “Share”.
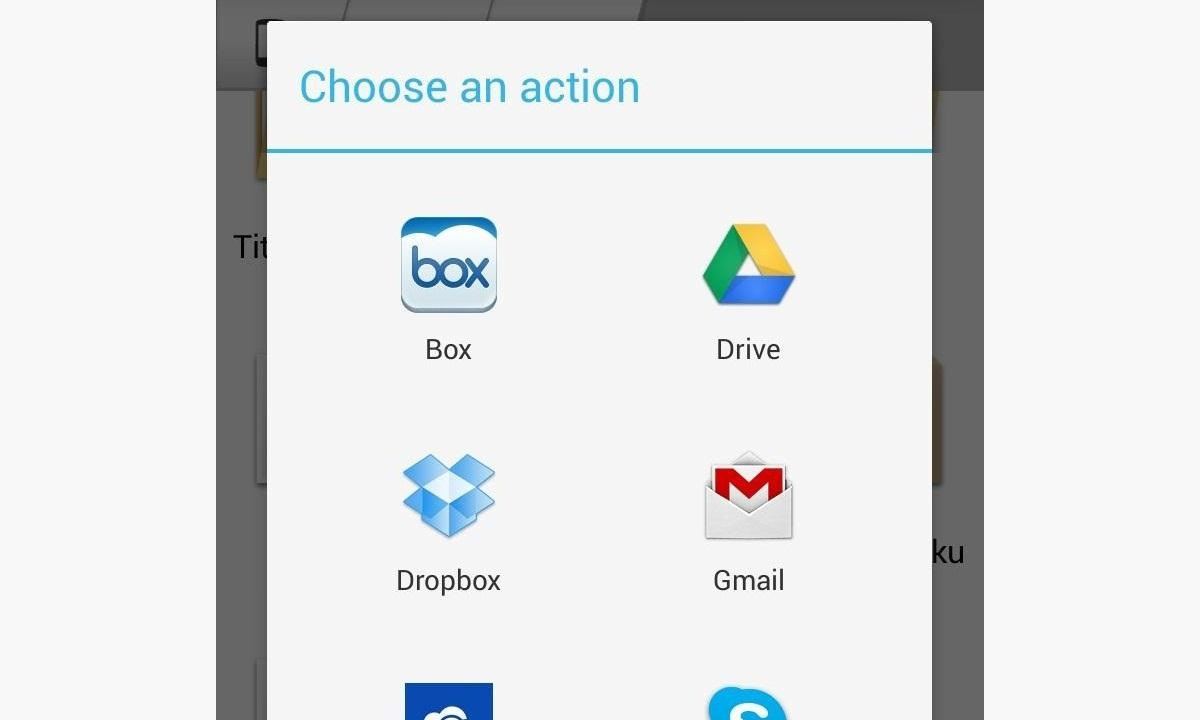
A new popup will appear; find the icon for Gmail and email it to yourself as an attachment.
One Your Rooted Nexus 7…
Now, the easy part… Getting WhatsApp onto your Nexus 7!
Step 5: Go Back on Your Nexus 7
Install Titanium Backup from the Play Store on your Nexus 7 like you did on your phone, but just don’t open it yet. You’ll be using it to restore WhatsApp, which was backed up.
Download the attachment you sent to your Gmail on your Nexus 7.
Install and open up Astro on your Nexus 7 and unzip the ZIP file. It will be located in the folder labeled “Download”. Using Astro, click on the folder TitaniumBackup and move it to the tab directory “/storage/sdcard0”.
Now you can open up Titanium Backup and go back to “Backup/Restore”. Scroll down once again and find WhatsApp. Click on WhatsApp and choose the “Restore” option. Titanium Backup will start restoring WhatsApp to your tablet, and then it will be installed and working just fine.
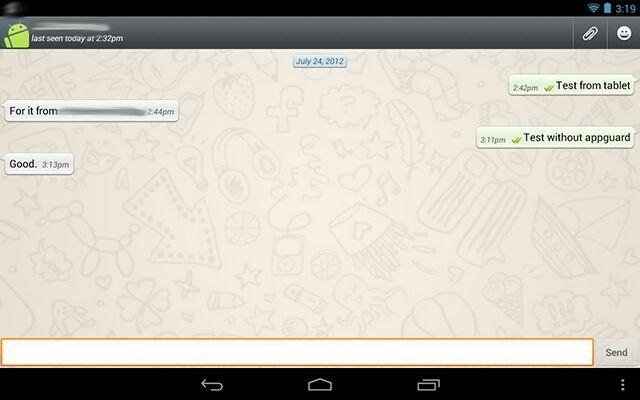
Let us know if it worked for you.
Enjoy!
Keep Your Connection Secure Without a Monthly Bill. Get a lifetime subscription to VPN Unlimited for all your devices with a one-time purchase from the new Gadget Hacks Shop, and watch Hulu or Netflix without regional restrictions, increase security when browsing on public networks, and more.
Other worthwhile deals to check out:
